
 Lietuviškai
 Deutsch
 Français
 Русский
 Español
 Polski
 Italiano
 Українська
 Čeština
 Português
 日本語
 Latviešu valoda
 Eesti
 Magyar
 Bahasa Indonesia
 Türkçe
 हिन्दी
 Ελληνικά
 العربية
 ไทย
 Tiếng Việt
 Română
 Bahasa Melayu
 বাংলা
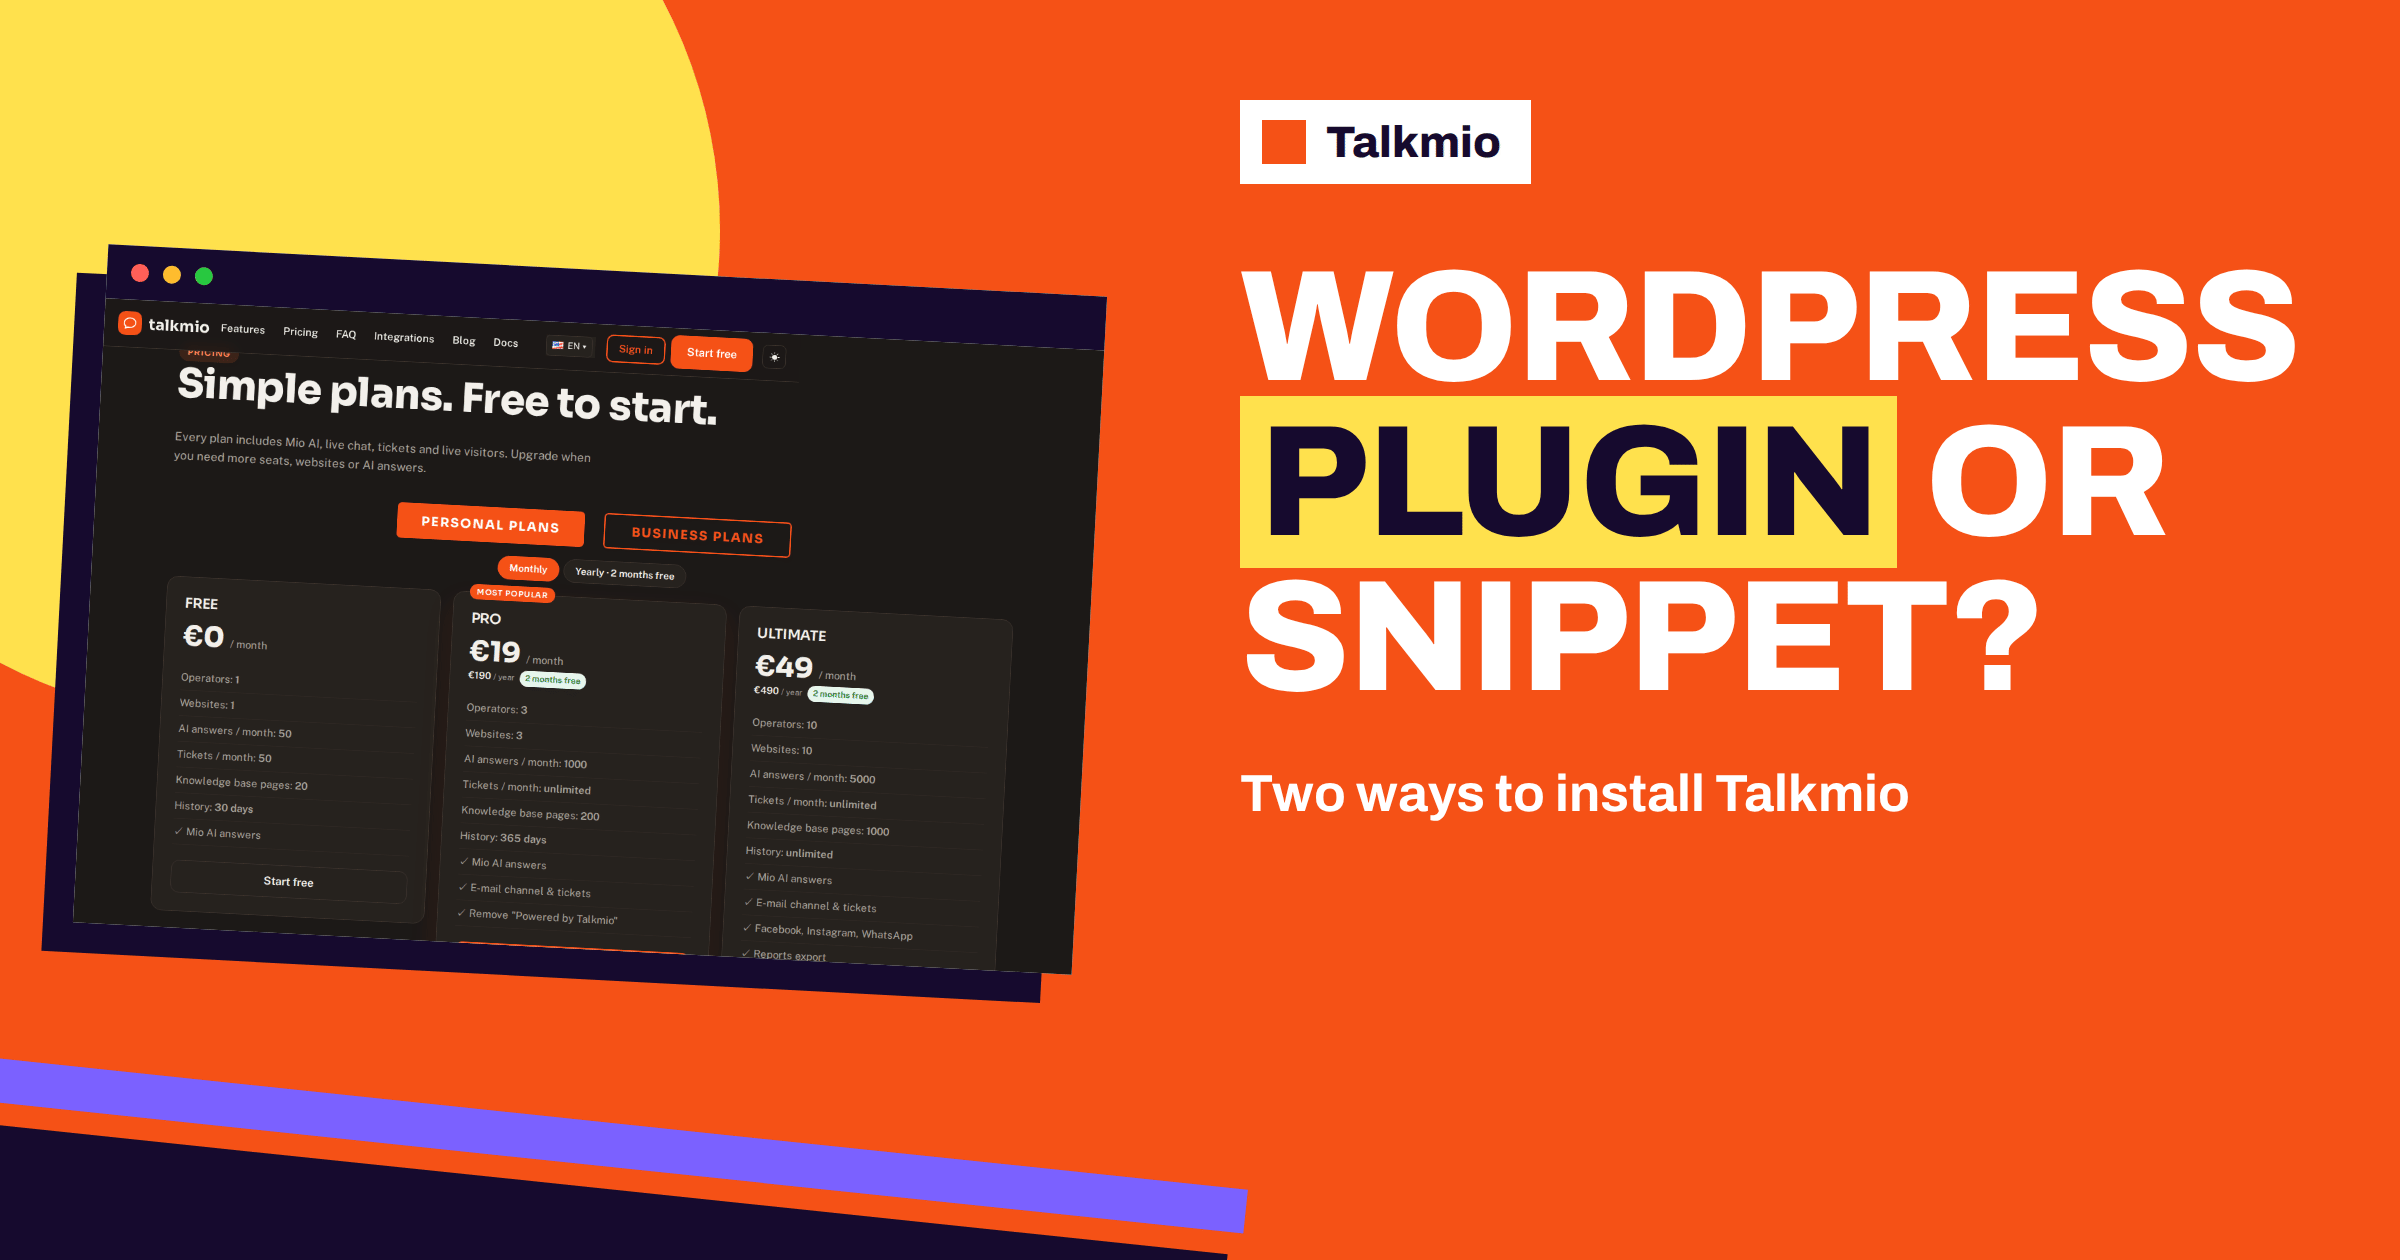
The Talkmio WordPress plugin and the code snippet both put the same chat on your site, so the choice is about maintenance and control, not about what visitors see. The documentation gives you two options: paste one snippet before the closing body tag on every page, or install the Talkmio WordPress plugin and enter your site key in Settings, then Talkmio. This guide compares the two, walks through the steps for each, explains how caching and consent plugins can interfere, covers shops and several sites and ends with a short test so that you know the chat works before a visitor sees it.
The steps follow the Talkmio documentation and integrations page. Menu names inside WordPress can differ slightly between versions and themes, so treat the WordPress screens described here as a guide, and the Talkmio steps as the reference.
Two Ways to Install on WordPress
Both methods start in the same place: create a free account at app.talkmio.com, open Websites, then Add, and enter your site. Talkmio gives you a site key and an install snippet. From there, the paths split.
| Method | What you do | Good for | Watch for |
|---|---|---|---|
| Talkmio WordPress plugin | Install the plugin, open Settings, then Talkmio, and enter the site key | Most sites; people who do not want to edit code | Another plugin to keep updated; conflicts with other plugins are possible |
| Code snippet | Paste the snippet before the closing body tag on every page | Sites with a code area, a child theme or a tag manager | A theme update can remove code placed in the wrong file |
| Google Tag Manager | Add the snippet as a tag in your container | Sites that already manage scripts in a tag manager | Consent rules and trigger settings |
The integrations page lists WordPress with a plugin, WooCommerce with the same WordPress plugin and Google Tag Manager with a container import, so all three paths are supported. Our guide to adding live chat to WordPress covers the general steps.
Install the Talkmio WordPress Plugin Step by Step
- Get your site key. In Talkmio, open Websites, then Add, and enter your WordPress site. Copy the site key.
- Install the plugin. Download the plugin ZIP from the Talkmio WordPress integration page. In your WordPress admin, open Plugins, then Add New, then Upload Plugin, choose the ZIP, click Install Now and Activate. The page describes it as the official plugin for WordPress 6.0 and newer, and says it works with WooCommerce.
- Enter the key. Open Settings, then Talkmio, paste the site key, which is a short key of twelve characters, and save.
- Check the site. Open your website in a private browser window. The chat bubble should appear in the corner.
- Ask Mio a question. Type a question your customers often ask and check that the answer comes from your own pages.
The Two Plugin Options
The integration page lists two options in the plugin settings. The first hides the chat for logged-in administrators, which keeps your own visits out of the visitor list and stops you from answering yourself by accident. The second identifies logged-in users: it passes the name and e-mail of a logged-in visitor to the Inbox, so that your team sees who is writing. That is useful for a membership site or a shop with customer accounts, but it means that personal data moves from your site to the chat. Decide deliberately whether you want it, mention it in your privacy policy and tell your team how to treat that information.
The plugin approach has real advantages. There is no code to paste, the setting is in a place that any administrator can find and the chat survives theme changes, since it does not live in the theme. If you hand the site to a colleague or a client, the plugin page tells them at once that a chat is installed and where the key is.
Place the Code Snippet Yourself
If you prefer not to add a plugin, or if you need more control, use the snippet. The rule from the documentation is to paste it before the closing body tag on every page. In WordPress, there are three common ways to do that.
- A header and footer code area provided by your theme, your page builder or a small code-snippet plugin. Paste the snippet in the footer box, so that it loads at the end of every page.
- The theme’s footer file, if you are comfortable editing code. Edit the child theme and not the parent theme, because a theme update replaces the parent’s files and the chat would disappear.
- Google Tag Manager, if your site already uses it. Add the snippet as a tag that fires on all pages, and respect your consent settings.
After pasting, save, clear caches and open a page in a private window. If the bubble appears on the home page but not on other pages, the snippet is probably placed in a template that only the home page uses. Our guide to live chat with Google Tag Manager explains the tag route.
Which Should You Choose?
Use this short table as a decision guide. Neither method is better in all cases.
| Your situation | Choose | Why |
|---|---|---|
| You do not edit code and want the simplest route | Plugin | One key in one settings screen |
| You keep the number of plugins low for speed or security | Snippet in a footer code area | No extra plugin to maintain |
| You run a managed theme or page builder with a custom code box | Snippet | The code box is made for it |
| You already use a tag manager for every script | Tag manager | One place for all scripts and consent rules |
| You hand the site to a client | Plugin | Visible, documented, easy to find |
| You run a shop on WooCommerce | Plugin | The integrations page names the same plugin for WooCommerce |
If you cannot decide, start with the plugin. It is the quickest to remove if you change your mind: deactivate it and the chat is gone.
Caching, Optimisation and Consent Plugins
Most failed installs on WordPress have the same cause: something stands between the code and the visitor. Three kinds of plugin cause most of it.
Caching Plugins
A cache serves a stored copy of a page. If you add the chat and the cache still serves the old copy, the bubble will not appear. After any change, clear the cache of your caching plugin, of your hosting and of any content delivery network, then reload the page in a private window.
Optimisation Plugins
Plugins that combine, minify or delay scripts can change when the chat loads, or block it. If the bubble is missing and caching is not the cause, exclude the Talkmio script from combining and delaying, or switch the optimisation off for a moment to test. Our guide to live chat widget page speed explains how to keep a fast site with a chat.
Consent and Cookie Banners
A cookie banner can overlap the bubble, and some consent tools block scripts until the visitor agrees. Check both: that the banner does not cover the chat, and that your consent settings load the chat as you intend. Our guide to chat widget and cookie banner overlap shows practical fixes.
WooCommerce Shops
The integrations page lists WooCommerce as a platform that uses the WordPress plugin. For a shop, install the plugin in the same way, then think about content. Visitors on a shop ask about delivery, returns, stock, sizes and orders. Mio answers from your content, so make sure your delivery and returns pages are clear, and write business instructions that send order questions to your team. The documentation lists asking about a specific order as a hand-off trigger, which fits the shop well. Our guide to live chat for WooCommerce goes through a shop setup in detail.
Several WordPress Sites or Multisite
Each website you add in Talkmio has its own site key, and plans limit the number of websites: one on Free, three on Pro and ten on Ultimate. If you run several separate WordPress sites, add each one and install the plugin or snippet on each with its own key. If you run a WordPress multisite network, ask support how you should handle the sites, since the public pages do not describe it, and count each site that needs the chat against your plan. Keep a short note of which key belongs to which site, so that you never paste the wrong one.
Test the Install Properly
Do not trust a single look. Run five quick checks.
- Open the home page in a private window and check that the bubble appears.
- Open a product, post and contact page. The snippet must be on every page where you want the chat.
- Open the site on a phone. The bubble should not cover buttons or the cookie banner.
- Ask Mio three real questions and check that each answer comes from your own pages.
- Ask for a person and check what arrives in the Talkmio Inbox. A “needs human” badge and a browser notification should appear.
Updating and Removing the Chat
Plan for the end of the story, too. If you used the plugin, keep it updated with your other plugins, and read the plugin page before a major WordPress update. If you decide to remove the chat, deactivate and delete the plugin, then clear caches so that visitors do not see a stored copy of a page with the bubble. If you used a snippet, remove it from the same place where you pasted it and clear caches in the same way. Keep a short note of where the chat is installed, who installed it and which site key it uses, in the place where your team keeps its website notes. When someone new takes over the site in a year, that note saves an afternoon of searching.
Troubleshooting a Missing Chat Bubble
- The key is wrong. Copy it again from Websites in Talkmio and paste it without spaces.
- Old cached page. Clear every cache and reload in a private window.
- The snippet is in the wrong place. It must sit before the closing body tag and on all pages.
- A plugin conflict. Deactivate optimisation or security plugins one by one for a moment to find the cause.
- The site key belongs to another site. Check that the key matches the website you added.
If nothing helps, write to the support address on the contact page with the page address, a description of what you see and the method you used. For general background on the platform, see the overview of WordPress.
Frequently Asked Questions
Do I need the plugin, or can I use a snippet?
Either works. The documentation says you can paste the install snippet before the closing body tag on every page, or install the Talkmio WordPress plugin and enter your site key in Settings, then Talkmio. The visitor sees the same chat either way.
Where do I find my site key?
In Talkmio, open Websites and add your site. You get a site key and an install snippet. The WordPress plugin asks for the key in Settings, then Talkmio, so that the chat on your site connects to the right account.
Will a theme update remove the snippet?
It can, if you pasted the snippet into the parent theme’s files. Use a child theme, a footer code area or the plugin instead. The plugin lives outside the theme, so a theme change does not remove it.
Why does the chat not appear after I installed it?
The most common reasons are a cached page, a wrong site key, a snippet that is not on every page or an optimisation or consent plugin that blocks the script. Clear all caches, check the key, test in a private window and try without optimisation.
Does the plugin work with WooCommerce?
Yes. The Talkmio WordPress integration page says the official plugin works with WooCommerce. Install it as usual, make your delivery and returns pages clear, and write business instructions that hand order questions to your team. The documentation lists a question about a specific order as a trigger for handing the chat to a person.
Can I use the same key on several sites?
Each website you add has its own site key, and plans limit the number of websites. Add each site separately and install the plugin or snippet with the key for that site, and keep a note of which key belongs to which site.
The Bottom Line
For most WordPress sites, the Talkmio WordPress plugin is the simplest install: one key in one settings screen. Choose the snippet when you want fewer plugins or already manage scripts in a code area or a tag manager, and always clear caches and test in a private window. Start free with Talkmio, add your site, pick the method that fits your habits and check the bubble on five different pages.